Installing the motherboard is probably the most important thing while building a Personal Computer.
It may be even more critical if you are making a gaming-focused PC. Even the slightest error while doing so may cause the computer to function incorrectly.
Because the motherboard works as the base for most of the PC’s components like processor, CPU cooler, RAM, graphics card, and many small and big parts, it should be kept stable. You don’t want small bumps to misplace your RAM or CPU, do you?
Considering all these things, it makes sense to stick to a proper plan. It will make sure that you can complete the installation process in the shortest time possible. Given that you have an appropriate plan of action, you will not have the trouble of missing or misplacing any components, either.
Keeping this in mind, we have made two more sections of instructions. These sections will tell you what you should (ideally) do before and after installing the motherboard.
Before We Begin: Safety Instructions
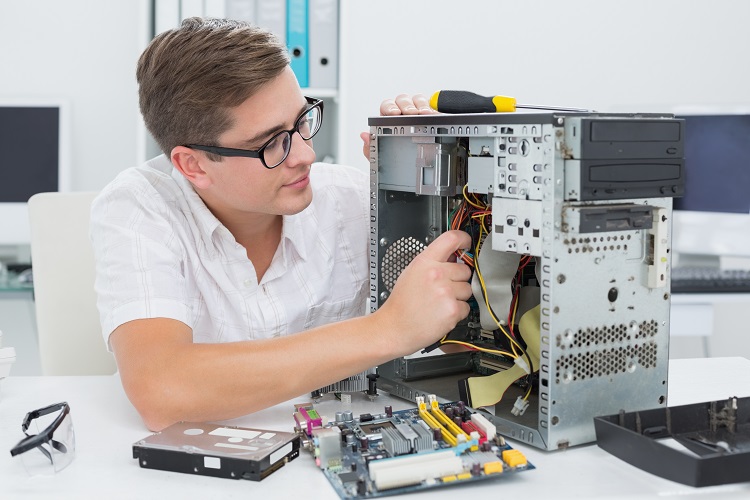
Building a PC may not pose the biggest safety issues, sure. The same safety issues may have a more profound impact on the various components on your motherboard.
Therefore, we recommend that you follow these basic safety instructions before you start installing the motherboard.
- The first step is to ground yourself. To do this, first, you need to release the electrostatic current (if any) on your body. After that, as a precaution, you can wear an antistatic wrist strap. While this strap is an optional step, it can protect you from any untoward incident during the PC building process.
- You should ensure that you build the computer while standing on the bare floor. Carpeted floors are not the best choice because they generate a lot of static electricity. This simple step can avoid many issues that you may encounter.
No matter how experienced you are with computers and how many times you have built a PC, you need to follow these steps. Once you have checked these boxes, we will move to the next section.
Before Installing the Motherboard
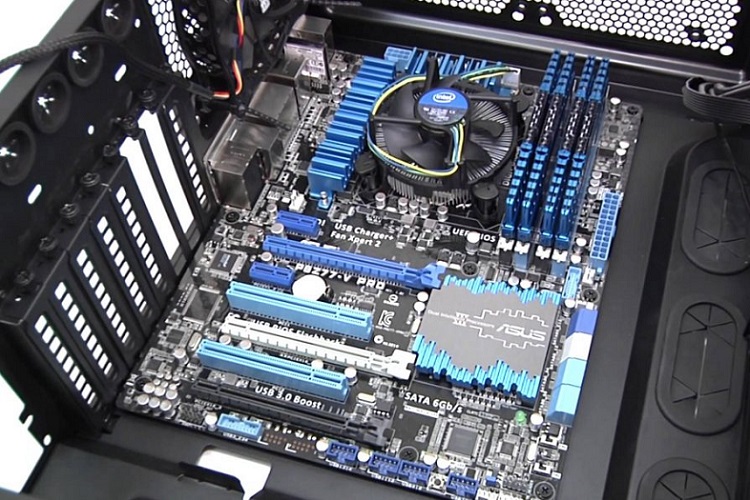
Here are the significant steps you need to follow to install the motherboard on the computer.
As long as you’re using a conventional computer case, it makes sense to install the following things before you put the board inside the case. Otherwise, you may have trouble reaching into the sides of the case and connecting stuff.
- Once you have opened the computer case, make sure you have full access to the interiors of the case. Remove everything you possibly can and make space.
- Install the Power Supply Unit on the computer and arrange the power supply cables in an accessible manner.
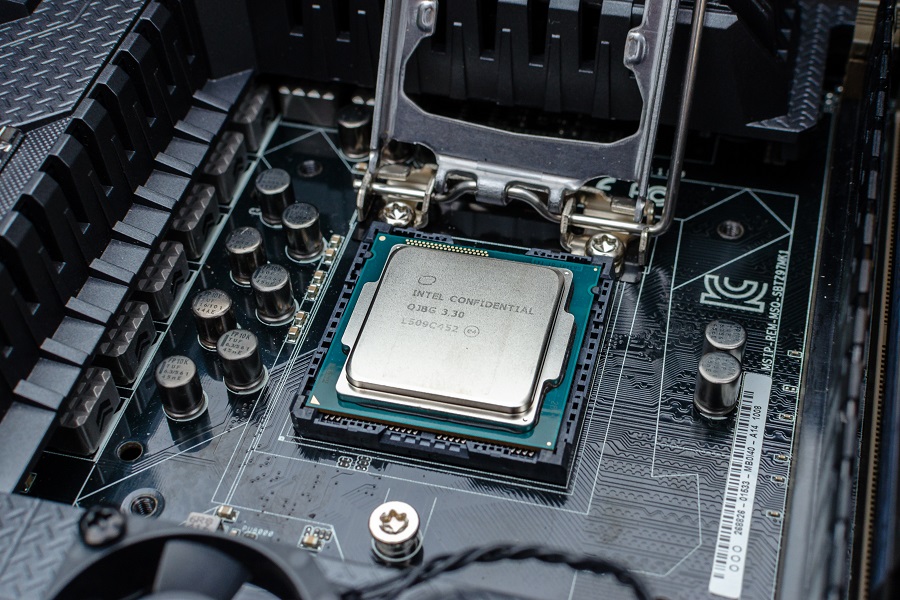
- Install the processor carefully. You have to check the processor manufacturer (Intel or AMD) and the motherboard model to understand the exact installation process.
- Depending on whether you have dual-channel or single-channel configuration, you can set up one or two RAM sticks.
After you have completed these four steps, you can now move towards installing the motherboard. For your ease, we have split the entire process into 9 steps. Make sure you follow them in the same order they are written.
How To Install a Motherboard?
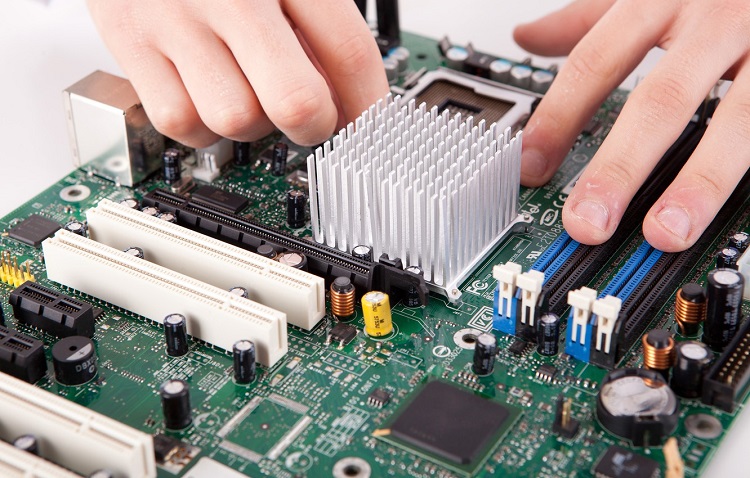
The steps are as follows.
Step #1 Replace the Default I/O Panel Shield
Every computer case comes with a default I/O panel shield that protects the I/O panel. However, it may not be suitable for your motherboard model.
Therefore, you have to remove the default panel shield from the case and insert the new one with your motherboard package.
You can check with the design on the motherboard to understand if you are accurately placing the shield.
Step #2 Find and Connect the Standoffs
Standoffs are little protrusions that keep your motherboard above the case. This design improves the overall cooling and prevents potential issues with circuit shortage.
Because all computer cases and motherboards ship with different settings, you need to find the standoff locations that suit your motherboard designs.
You will have to hover the motherboard on top to understand which standoffs work for that particular model.
Step #3 Install the Motherboard on the Standoffs
Now that you have found the standoffs suitable for your motherboard tray, it’s time to install it. You have to place the motherboard on the appropriate standoffs gently and secure the board using screws.
We suggest sticking to a handheld screwdriver, which offers flexibility. Over-tightening the screws isn’t a good idea since it may damage the motherboard tray. Therefore, try to find a balance in this department.
Step #4 Connect the Power Supply
By now, you would have placed the motherboard quite firmly on the case. Ensure the screws aren’t too loose, as that will affect your PC build’s stability.
The next step is connecting the power supply to the motherboard.
While doing so, you have to connect the 20/24-pin connector and the 4/8-pin 12V connector. The specifics may vary depending on the PSU model you use. Therefore, keep the product manual handy.
Step #5 Connect the Front Panel and USB Ports
Your computer’s front panel consists of the power switch, reset switch, Hard Drive LED, Power LED, and the Speaker in some cases.
Depending on how many of these you have, you have to find the cables and connect them to the front panel. Similarly, look for the USB connectors from the motherboard. Connect them to the front panel for easy access.
Step #6 Set Up the Cooling Fans
The cooling fans for the CPU are an integral part of any computer. You have to set them up before you power on your computer.
To do this, you have to find the cables and the ports on the motherboard and near the CPU module, respectively.
In most cases, the CPU fan will use a two-pin connector. Connect the appropriate cable to the connect, and you are good to go.
Step #7 Install the SATA/PCIe Drives
The installation process of the storage drives and video cards on the motherboard may vary depending on a few things.
Most importantly, your drive could be PCIe or SATA. SATA Drives need to be placed in a separate compartment while PCIe drives can be inserted right onto the motherboard.
If you have a SATA drive, you can push this step to the last.
Step #8 Install the PCIe Graphics Cards (Optional)
Similarly, since modern video cards use the PCI-Express slot, installing a PCIe-based graphics card wouldn’t be a big deal. However, when you do, make sure its ports are kept in an accessible space.
Because a graphics video card is the biggest yet component on the motherboard, you should install it last. Otherwise, you may have trouble connecting other parts, if any.
Step #9 Take Care of Wiring
Once you have completed these eight steps, you have successfully installed most of the motherboard.
Now, you can focus on measures that improve the health and accessibility of the build. For instance, you can start by arranging the wiring.
You can use either zip-ties or custom-made connectors to organize the cables. You might not have enough space if you were building an ultra-compact PC, though.
If you have reached here, it means you have successfully installed the motherboard on your new or old computer. Now, let’s look at some after-installation pointers.
After Installing the Motherboard
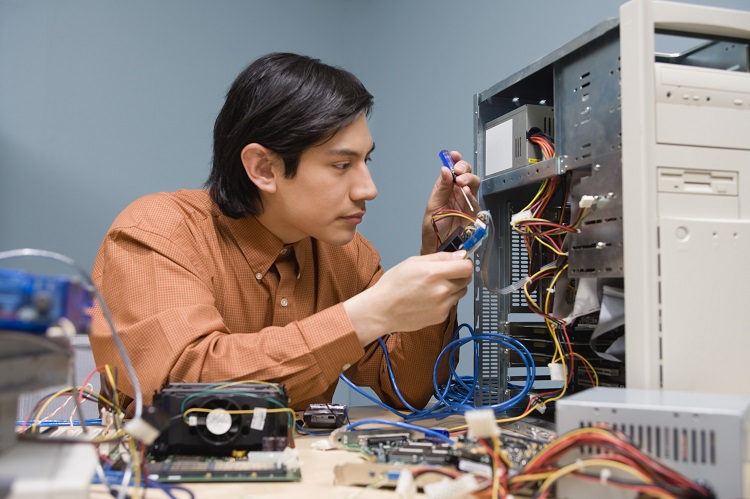
Safety remains the most important thing even after you have installed the motherboard. Therefore, before you turn on the PSU using the system front panel, you have to follow some additional steps.
You must check for proper connection is the CPU connector, without which the system may not work. Apart from these, you have to check the following boxes as well.
- If you have to connect some expansion cards, it is time. Make sure you secure them using the proper interface. Of course, you have to take care of all the drivers, but that’s later.
- Ensure that you have provided the power to the SATA Hard drive components if you are using one. Once again, you can’t set up your system without using the HDD.
- Once you have followed these steps, you can turn on the computer using the front-panel buttons. It may take a second to get things working, but you should be fine in a minute.
Now, you can see the BIOS and other messages on the screen. Depending on whether you have a blank drive or not, you will have to install your OS.
In either case, if you have introduced new hardware to the board – say a video card or an expansion card – you will have to install the drivers after booting up the OS. Unless you do that, you can’t tell the difference.
Similarly, if you have upgraded your motherboard for better connectivity, you have to test them first. Doing this won’t take more than a few seconds. That’s it. You should now be able to start your computer without any trouble.
Some Tips and Pointers to Keep in Mind
Here are some tips that will help you install the motherboard a little more effectively.
- Whether you are building a gaming PC or not, make sure you have enough free space in the computer case for air circulation. This extra space will help you access the components and upgrade them with ease in the future.
- If you have a modern motherboard, you don’t have to worry much about these steps. These boards come with detailed docs on installation or have many labels for the ports, connectors, and screws. You will just have to follow these pointers.
- We recommend using a Phillips head screwdriver with a magnetic tip to install the motherboard and other PC components. Doing so will help you keep the necessary screws in an accessible space. At the same time, avoid the use of electric screwdrivers.
- If you don’t have an antistatic wristband with you, you can solve static electricity by touching the PSU module often during the installation. It will ensure that the static current from your body gets passed to the case.
- You don’t always have to find all the standoff points while setting up the motherboard tray on the case. Instead, you can let things be once you have connected a good number of standoffs. As we did say in the beginning, we are doing this to stabilize the build.
We hope these tips help you build a better PC.
The Bottom Line
What do you think about our guide on how to install a motherboard?
We hope we have covered everything you’d want to know about the process, along with some useful tips. If you think we missed some points, let us know through your comments below.
