Aside from choosing between the many branded and high-quality thermal paste options in the market today, another debatable subject in the world of computers is: "How much is too much thermal paste?"
Many people think CPU thermal paste is a one-shot solution to skyrocket your PC’s performance. They are not entirely wrong: adding thermal paste to a PC setup that did not have thermal paste in the first place will give you improved performance.
Nevertheless, you cannot choose the amount of thermal paste based on hearsay.
Instead, you have to explore the different methods you can use to apply the thermal paste to your CPU.
Therefore, before you start wondering how much thermal paste is too much, you should understand how you plan to add the paste to your PC setup. From big blob to thin spread and pea-sized dot, you have to pick one of the many options.
This post will discuss the 4 most common techniques in applying thermal paste and reveal which one I've had the most success with over the years.
Too Much Thermal Paste - What’s the Optimal Quantity to Use?
So how much thermal paste is too much?
Here's the answers of CPU/GPU manufacturers themselves: "not too much."
I bet you already know this, but AMD and Intel both recommend using "size of a pea or a grain of rice."
There are two important reasons for using this small quantity:
- Sandwiches don't work - When you apply too much thick thermal paste between the metal surfaces, it will result in a big chunk of paste in the middle and no surface connecting. As a result, it actually reduces the efficacy of the paste.
- Spilling all over - When you apply too much thermal paste, there is a huge (and dangerous) possibility that it would spill out onto your computer's motherboard. Unfortunately, wiping excess thermal paste off isn't as easy as it seems. A drop of electrically conductive thermal paste could fry these components permanently.
A "pea sized" here refers to a tiny drop of paste - nothing bigger than 1/2-inch wide blob of paste. At that rate of application, you may wonder about thermal paste expiration, which we covered here. How often should you replace thermal paste is another frequent question.
While some CPUs are bigger in size, it is still safer to apply less than to regret putting in too much.
Paste Application Test Methodology
If you go on a quick YouTube search on thermal paste application techniques, you'd be surprised at how many methods people have discovered through the years.
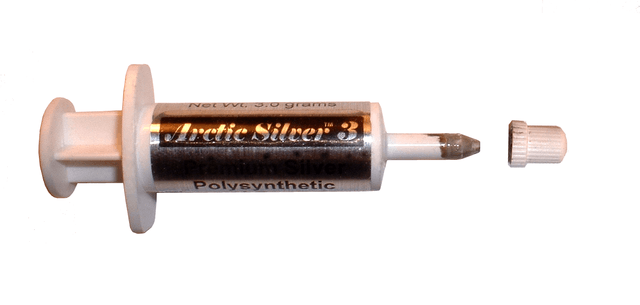
The following four techniques are the most recommend of all:
A big blob - If you're trying to fix or install a new GPU or CPU for a desktop computer, you probably heard that a big blog of paste is ideal.
Thin spread - This can be applied with an index finger, paintbrush, or any other method as long as it results in a thinly-spread paste completely covering the heatsink.
Pea-sized - This is the method recommended by most GPU/CPU manufacturers, computer blogs and other professionals.
Fully covered "too much thermal paste" - Generously-applied amount of thermal paste that no one will contest as being "too little."
Which method do you think will work?
Big Blob
Pros
Cons
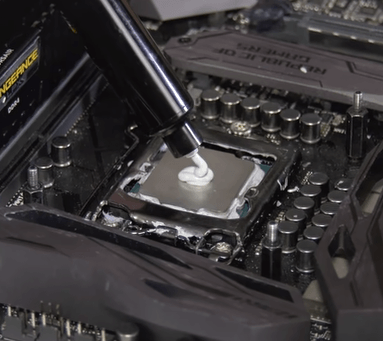
The big blob, as its name suggests, is just a big dot smacked in the center of the metal plate. It is definitely bigger than the pea-sized recommendations of professionals mainly because it is used for desktop PCs.
Once you apply the blob onto the center of the CPU, place the cooler on top and slowly bring the heatsink down. The paste should spread out laterally "on its own." You don't need to press down, slide sideways, or compress it with force.
It doesn't matter if the layer is not perfect either. What matters is that the microscopic gaps between the two surfaces are no longer there and no air bubbles are trapped during the process.
Be careful if you're using a low-viscosity thermal paste (a liquid-like texture). When you apply a big blob in the middle, the liquid paste would spread more aggressively and spill onto the sides.
Thin Spread
Pros
Cons
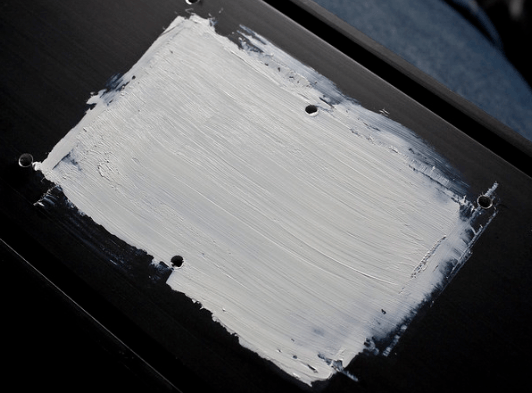
The veteran PC builders preferred this method. They used latex gloves and their index fingers to apply thermal paste, or a credit card to smoothen the spread. Also because the thermal pastes available in the market years ago were packaged in tubs (instead of tubes), so getting a chunk at a time is common.
The concept of using the thin spread technique is that this supposedly ensures maximum contact between the heatsink and cold plate. The layer in between these surfaces is thin enough for them to stick, but because of this, it could even cause air pockets.
Another advantage of the spread method is that you can be sure that the corners of your heatsink will be covered nicely without spilling to the edges.
Note that liquid-like thermal paste is very hard to spread evenly, so this may not work for low-viscosity pastes. This is also true for pastes that are on the thick side, since its texture would make it impossible to spread thinly.
What makes this technique a good choice is that because you're spreading it so thin, you're only using minimal amounts of paste. If you're using the expensive brands, this application method can be budget-friendly.
Pea-Sized Dot
Pros
Cons
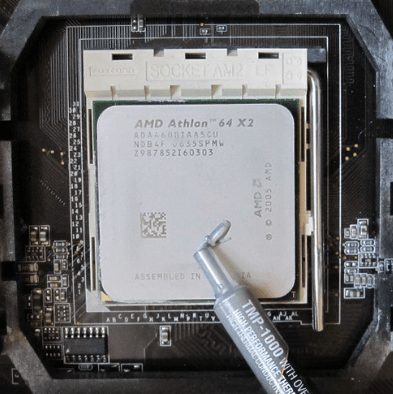
Many people recommend sticking with the pea-sized dot when applying thermal paste. It is straightforward and it works. Here's how you can do this:
- Clean your CPU, cooler, heatsink and other surfaces with an alcohol-dipped microfiber cloth. Make sure you removed dust, gunk and dried thermal paste.
- Squeeze a tiny amount of thermal paste and gently drop it onto the center of the CPU. Make sure that the "dot" you created is no bigger than a few millimeters in diameter, or nothing bigger than a small grain of rice.
- Be sure to reinstall all cables and other components you removed and they are in the right places.
- Slowly bring your cooler down to the CPU and make sure it aligns. Note that if you don't connect the two surfaces during your first try, the thermal paste would not spread properly.
Another benefit to this pea-sized method is that the layer will always have less air pockets than other techniques. The downside though is that the corners may not get enough coverage. If the surface has gaps on the edges instead of the middle, then this would be a huge issue. If not, then it's your lucky day and you can carry on.
The reason why many people swear by the pea-sized dot method is because it is an easy method to replicate should you need to do the application again.
Too Much Thermal Paste Effects
Pros
Cons
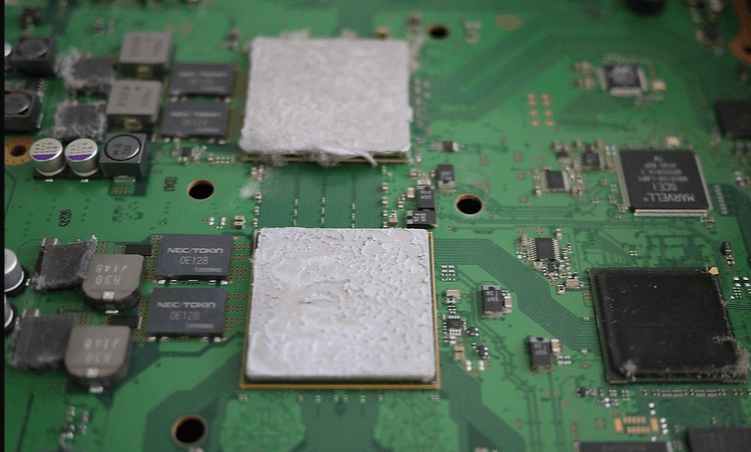
As you may have guessed, applying too much thermal paste can be a sticky situation, regardless of using a liquidy or thick paste.
Note that applying too little thermal paste always trumps applying too much. Imagine doing all the steps and finding out that you were unable to cover everything due to the lack of paste. You just need to clean out the old paste, then get back from the start.
However, if you put too much thermal paste and then have to redo everything, you'd find that it isn't easy to clean out super-thick thermal paste from the surface. And if the paste has spilled a little over the motherboard or other components, then this could cause irreversible damage.
If you were able to prevent spillage and just add a chunk of thermal paste between the two surfaces, you'll discover soon enough that thick paste could prevent the surfaces from connecting, and in turn, preventing heat transfer and possible overheating.
The Results: How Much Thermal Paste is Best?
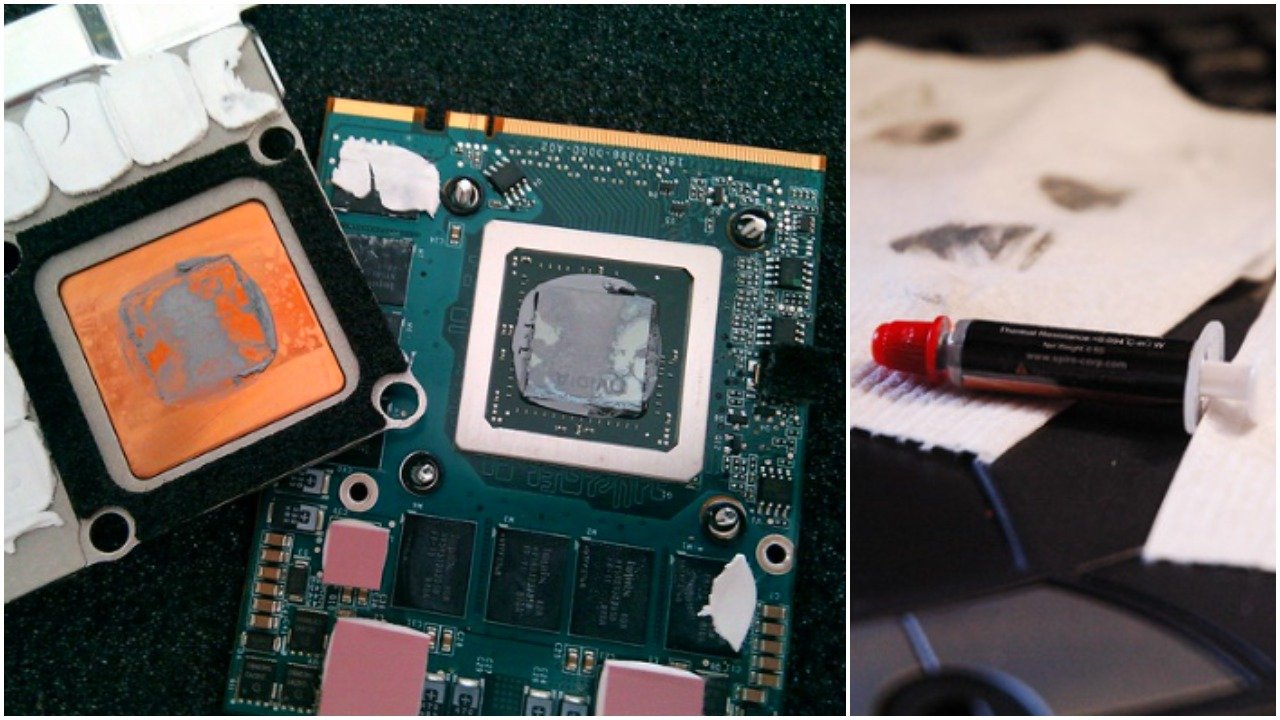
Don't be too scared about learning how to troubleshoot your own computer, especially if the problem is as simple as reapplying thermal paste onto your CPU.
If you're someone like me who has dabbled in building gaming rigs and has been a gamer on and off, you must know that too much thermal paste isn't your solution for fixing CPU/GPU temperature issues.
Instead, PROPERLY applying the right type of thermal paste should be the goal.
It can be too tempting to spread the thermal paste onto the CPU manually, but as we've discovered with the spreading method, air pockets are inevitable with this technique. In fact, any incorrect way of applying thermal paste could lead to unwanted air bubbles. And if that happens, you most likely need to redo it.
It doesn't matter who recommended the method you’re trying to replicate. There’s a reason why this topic remains a debatable one until today.
If you can't choose between the methods, you should go with the pea-sized dot. It is the easiest, most beginner-friendly and most effective of all 4 techniques here.
If another thermal paste application method works for you and you were able to do the job well, then stick with what you know.






Your message is kind of funny Nerd!
I’m pretty sure this is supposed to be true.
Sorry man but this article is all kinds of wrong / false & you’re only spreading false info to those who do not know better.
”
Big chunk of paste in the middle – 2 words – mounting pressure….. Learn what it is and how it makes this lie of your’s invalid. What can happen is that the CPU IHS is slightly concave in the center, and the cooler is convex in the center. This is quite unlikely but it can happen. Even so, only poor quality paste would then impede your results.
No surface connecting? The surfaces will never mate very well, as they’re both like jagged mountain peaks under a microscope. Even if the 2 surfaces had an 80% contact point, the mounting pressure will always force the paste to spread. What you attempt to state makes it sound like the paste somehow had a reverse mounting pressure, that will hold the cooler from reaching its full mounting pressure.
Spilling over – this is only an issue if your TIM is conductive. Bar that, it will cause ZERO issues. Absolutely ZERO. Please get credible facts & don’t thumb suck crap out of your head. Furthermore, a bit of medical alcohol makes easy work of removing TIM.
You don’t mention the ‘X’ application which is usually the best in terms of creating very good coverage, under the coolers mounting pressure.
Thin spread – Veteran method? What a joke, it’s the idiot’s method – you introduce dirt/fibre etc etc using the glove or credit card. Let the cooler’s mounting pressure force the paste into the crevices, while it forces the air out.
“The concept of using the thin spread technique is that this supposedly ensures maximum contact between the heatsink and cold plate. The layer in between these surfaces is thin enough for them to stick”
No amount of TIM will create a variable between how the surfaces mate. Those are 2 variables that are “factory set” in the manufacturing process. The mounting pressure is the variable.
“Note that applying too little thermal paste always trumps applying too much.” – You contradict yourself 100% when earlier in the article you said “Due to the limited amount of paste, it might be unevenly spread especially around the corners.”
You contradict yourself here aswell “Note that applying too little thermal paste always trumps applying too much. Imagine doing all the steps and finding out that you were unable to cover everything due to the lack of paste.”
The ONLY time when too much paste is bad, is where poor quality paste is used.
Here are links to back up what I’m stating as fact.
https://www.pugetsystems.com/labs/articles/Thermal-Paste-Application-Techniques-170/
https://www.gamersnexus.net/guides/3346-thermal-paste-application-benchmark-too-much-thermal-paste#:~:text=Putting%20too%20much%20paste%20on,the%20cooler%20is%20tightened%20down.
“Putting too much paste on a socket generally won’t hurt thermal performance, because the act of tightening down the cooler squeezes out the excess. Too little paste is bad, but anything above the minimum threshold will have the same effect once the cooler is tightened down. The problem with excess isn’t thermals, it’s the danger of shorting components with conductive paste, or just making a huge mess. It’s also possible that with lower quality paste applying large quantities would hurt thermals more, but again, this test covers our own methodology, and we use Kryonaut.”