

Trying to build yourself the best $800 gaming PC possible? With that kind of budget you can easily build a powerful gaming PC that won’t need any upgrades for a long time! This $800 build is fully loaded with an Intel i5 11400F, a Radeon RX 6500 XT, 16GB of DDR4 RAM and 500GB of SSD storage, just to make sure you don’t fall short anytime soon!
All of that hardware gives you a seriously awesome custom gaming PC that will help you destroy your competition without doing the same to your wallet! It’ll easily be able to handle AAA games in 1080p at 60fps or better and it’ll even give you decent 1440p performance as well!
A budget of $800 is going to get you the core parts you need to build a really solid mid-level gaming PC with a lot of gaming potential – one that won’t need any kind of upgrades for quite a while. This beast won’t go obsolete for at least a couple of years, which is saying something when you’re talking about tech today.
Have a question? Ask me in the comment section or look at our PC build FAQ.

$800 Prebuilt Gaming PC Option
Acer Nitro 50 N50-620-UA91 Gaming Desktop
Not feeling the DIY approach? Just want the best prebuilt gaming PC around $800 that’ll work right out of the box? Have no fear, The Acer Nitro is here. It comes fully assembled with Windows already installed. The only thing left for you to do is plug it in and turn it on!
With that in mind, here’s a good prebuilt alternative with similar (not the exact same) specs and pricing as the DIY build found on this page.
- CPU: Intel Core i5-11400F 6-core processor
- Graphics Card: NVIDIA GTX 1650 4GB
- RAM: 8 GB DDR4 RAM
- Storage: 512GB SSD
- Connectivity: WiFi + Ethernet | 7.1 channel audio | 5x USB 3.2 + 2x USB 2.0
- Comes with Windows 10 Home (64-bit) installed (free upgrade to windows 11)
- Comes with a keyboard and mouse
The Best $800 Gaming PC Build
Updated: October 24th, 2021

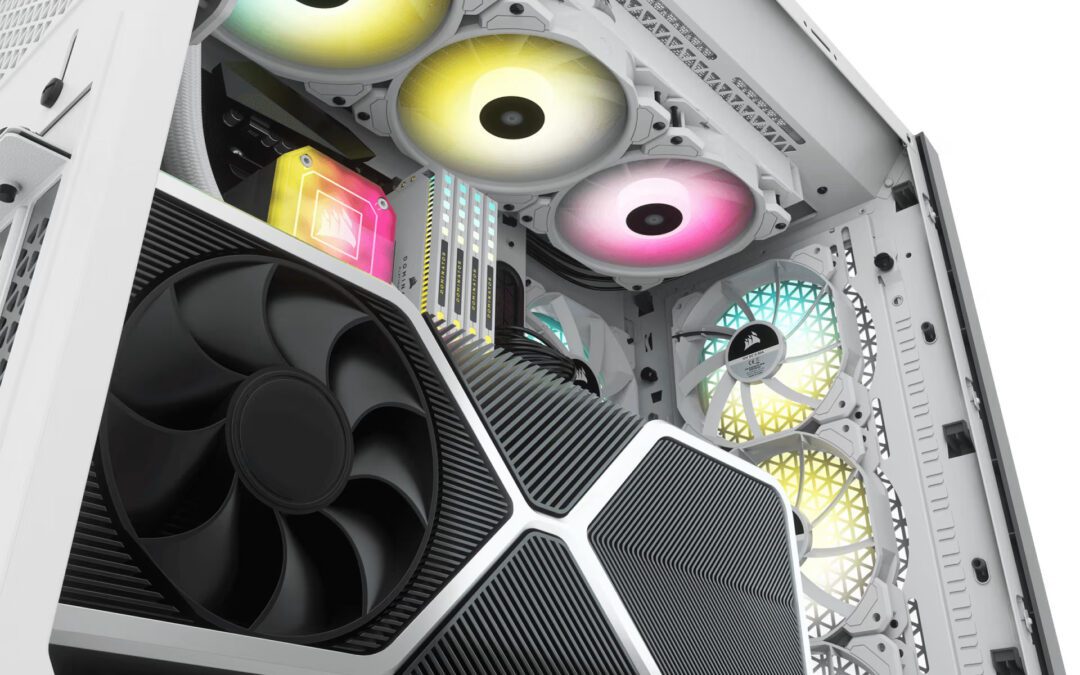
Case
NZXT H510
Mid-tower ATX case, great layout, big tempered glass window, comes with 2 120 mm fans.

CPU
Intel i5 11400F
6-core/12-thread CPU, up to a 4.4 GHz clock speed, supports Intel 10th/11th generation processors. Come with a CPU cooler.

Motherboard
ASUS Prime B560M-A
LGA 1200 socket, mATX motherboard. Equipped with 6x USB + 4 SATA ports, 1x M.2, built in audio and integrated ethernet.

GPU
XFX Speedster QICK210 Radeon RX 6500XT
4GB GDDR6 VRAM, 1x DisplayPort 1.4 and 1x HDMI 2.1 display outputs. Good 1080p gaming performance!

RAM
Corsair Vengeance LPX 16GB
2x8GB sticks of 3000MHz DDR4 RAM. Adding more ram is completely possible!

PSU
EVGA 500 BR 80+ Bronze
500W 80+ Bronze power supply. Comes with a 3-year warranty.

Storage
Kingston A400 480GB SSD
480GB SSD with 500MB/s read and 450MB/s write speeds.
The tools you need:
- A small Phillips screwdriver
Size #2 works well as a general rule. - An anti-static wristband
Optional but recommended. - Patience
And lots of it.
That’s really all you need to assemble your new desktop. All of the mounting hardware and cables will come with the parts listed above. The only time you might need something extra is if you’re modifying the build on this page.
HOW TO BUILD YOUR PC…
Super Simplified Build Steps:
- Install the power supply into the case
- Install the processor (CPU)
- Seat RAM in the motherboard
- Mount the CPU cooler (don’t forget thermal paste if you’re not using a stock cooler!)
- Insert the motherboard’s rear I/O plate into the case’s rear I/O slot
- Mount the motherboard in the case (get your i/o ports through and use the middle standoff as a guide)
- Plug your graphics card into the motherboard
- Install storage drives
- Plug all power and data cables in where they’re required (storage, case, motherboard, graphics card, etc)
- Turn your PC on
- Install your OS
- Install and update ALL drivers
- DONE!
Complete Build Breakdown
When you’re picking parts to build yourself a gaming PC there are a lot of considerations to keep in mind. Do you plan on upgrading it in the future? Do you just want what you can get now, or do you want to eventually overclock your processor? Each path potentially poses a lot of new considerations if your goal is effectively balancing price vs performance.
But, why do all that when you could have me do it for you?!
Case: The NZXT H510i is an good mid-tower ATX case that takes everything the S340 did well and improves almost everywhere. It comes with everything you’ll need right out of the box, including the mounting hardware you’ll need and 2x 120mm fans. It can easily support custom or AIO water-cooling setups with radiators up to 280mm.
That all being said, there are lots of other cases that would work great for this build, so to make sure that your build is really your build, make sure you pick the case that you like best!
CPU & Cooler: Intel’s i5 11400F is a 11th gen processor that should handle pretty much anything that you throw at it! It has 6 cores and 12 threads, a base clock speed of 2.6 GHz and a max clock speed of 4.4 GHz which is actually faster that the popular Ryzen 5 3600.
This CPU is also overclockable so you could easily squeeze out even more performance if you don’t mind spending some time testing. If you don’t want to overclock, check out this article which gives you 3 easy ways to make your pc faster without overclocking.
This CPU comes with a decent CPU cooler if you’re not pushing your CPU too much or overclocking. Upgrading to a larger air cooler would be recommended if you’re going to overclock.
Motherboard: The ASUS Prime B560M-A is an good mATX option for a Intel-based build. It gives you support for all of the features we need with room to expand down the line, including 4x SATA ports, multiple case fan headers, 8x USB ports, 4 slots for DDR4 RAM, integrated audio, a built-in ethernet controller, and even 2 M.2 slots.
Graphics Card: For the GPU, we’re going with the XFX Speedster QICK 210 Radeon RX 6500XT that offers a good price vs performance ratio.
This may seem like a lower end card for a $800 pc build, and it would be if this was 2020, but over the last couple of years GPU prices have sored and it can be hard to get your hands on a decent GPU for a fair price. I think that this is a solid GPU which will preform well at high settings.
RAM:16GB of RAM is the perfect amount for a gaming PC at this level. With that in mind, this build is running 2x8GB sticks of Corsair Vengeance LPX at 3000MHz. This leaves you with lots of room for future expansion and if you wanted to run more than 16GB that’s completely possible – when you do upgrade try to stick to the same speed as your RAM will automatically change its speed to match your slowest stick.
Power Supply: EVGA’s 500 BR power supply is a good, reliable, power supply. It’s rated to 80+ bronze and comes with a 3-year warranty + 24/7 technical support from EVGA. As the 500 BR is a non-modular unit, all cables are permanently attached. If you’d prefer a semi-modular supply, I’d suggest checking out the 500 BQ instead – it’s a little more expensive but objectively much better.
Storage: When it comes to storage, there’s a Kingston A400 480GB SSD in this build by default. Beyond that, you can easily add up to 3 more drives based on what the motherboard will support. All you’ll need are extra SATA data cables and the additional drives themselves.
Peripherals
If this is your very first gaming PC, you probably need almost everything on this list. If that’s you, set aside another few hundred for these additional peripherals.
If that’s the situation you’re in, then I have some really awesome suggestions for you to consider. Each peripheral was hand-picked for this build and they’re all guaranteed high quality.
When it comes to picking a display, you really want it to be perfectly suited to your usage, that’s why I’ve put together a guide on how to pick the best monitor.
Chairs are no different, to fully enjoy your gaming experience you really need to find the best gaming chair possible. Due to the insane amount of options, I’ve put together this in-depth gaming chair buyers guide, check it out!

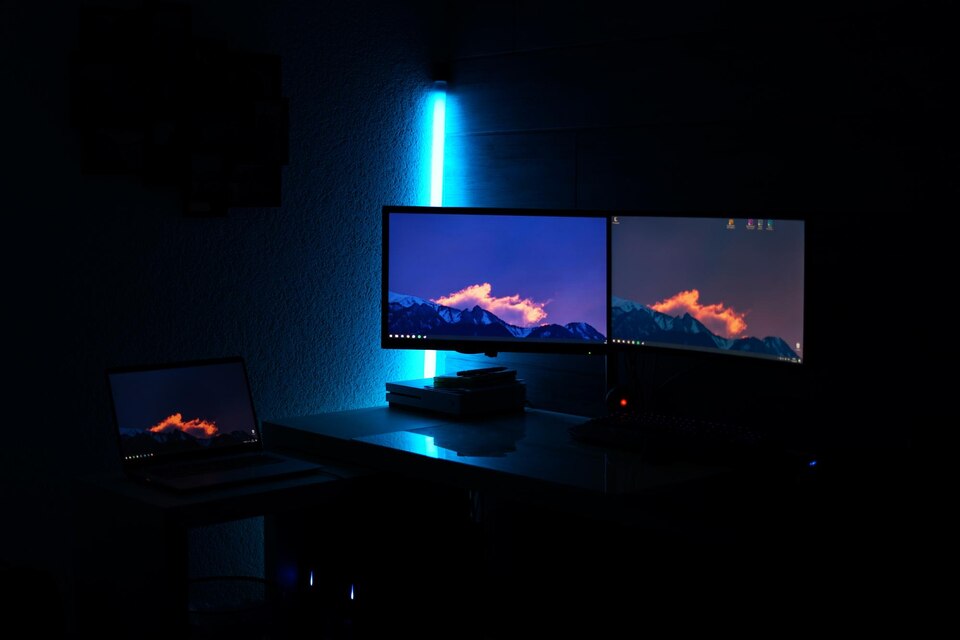
Monitor
ASUS VS247H-P 23.6″
23.6″, 1080p 60Hz, 2ms response time – Great for gaming

Keyboard
Redragon K556 RGB
A good full sized mechanical keyboard with RGB backlighting and a very attractive price point.

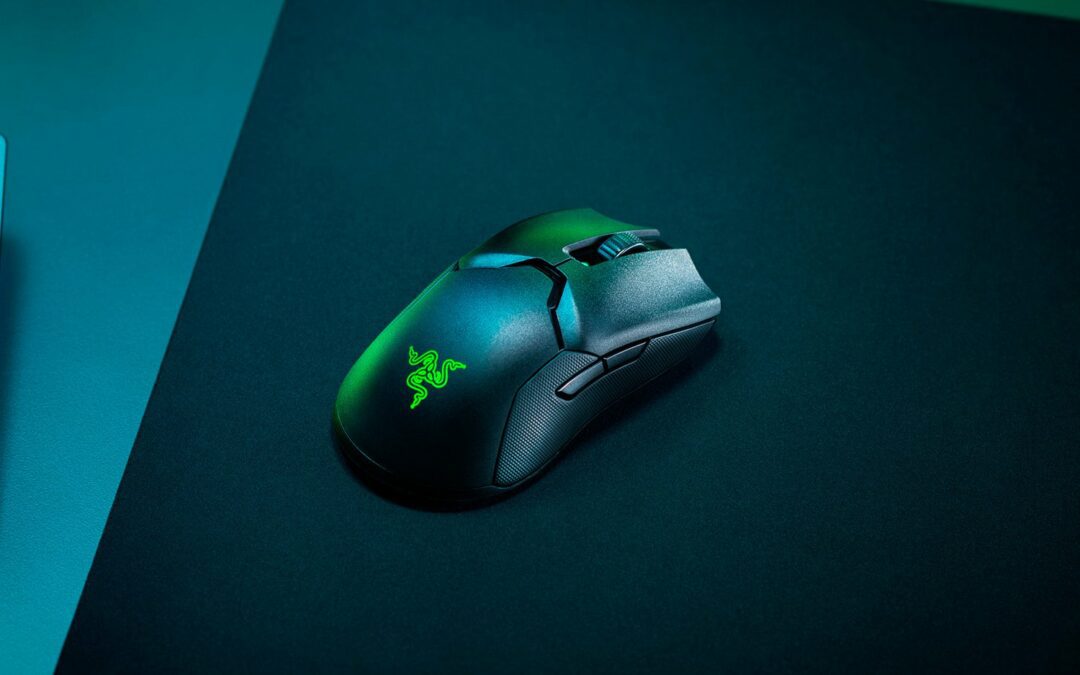
Mouse
Logitech G502 Hero
One of the absolute best gaming mice you could buy. The G502 is a tried and true platform that’s only been improved to where it’s at now with the HERO.

Headphones
HyperX Cloud 2
The HyperX Cloud 2 headset is undeniably one of the best you could own. They use audiophile-grade headphones with a high-quality detachable microphone.
Operating System
When it comes to picking an operating system, you have quite a few options laid out before you. But, the best / easiest two are either Windows or something Linux-based.
If you’re really strapped for cash, or you really just don’t like Windows, Ubuntu is a great option because it’s entirely free, and it’s really solid/secure. It’s a Linux-based OS and can play any game that supports Linux. More and more games are adding Linux support, but it definitely sucks when a game you’ve been waiting forever for ends up being Windows only…
The more expensive option is buying a copy of Windows. With DirectX 12 becoming more common and the Skylake-based processors basically demanding Windows 10, you might want to consider jumping on that right away, but it’s ultimately your call.
Installing your operating system can be done in a couple of different ways, either by DVD or a USB flash drive that you either create yourself or buy.

Windows
Windows 10
The most recent version of Microsoft’s operating system, Windows 10 is your best bet for across-the-board compatibility.
Linux
Ubuntu
Ubuntu is a great, open source operating system rooted in Linux. It’s known as one of the most user-friendly and easiest to learn.
WiFi
Since the motherboard in this build does not have built-in WiFi (most don’t) you will need a WiFi adapter if you plan on using a wireless internet connection. That said, if you have the option to run a wired connection, do that instead because it will be faster & more reliable.
Since there are tons of options available when it comes to picking a WiFi adapter, it can be a little confusing at first; but don’t worry because I’m going to help sort that out… Or, at the very least, I’m going to try to make it as simple as possible.
Basically, if you have a newer router/modem, chances are it’s on the AC protocol and supports both the 2.4GHz and 5GHz bands – perfect. If it’s older, it might be on the N protocol which is a little slower than AC, but your modem/router might still be new enough to be “dual band” and support both 2.4GHz and 5GHz. This is the first thing you want to figure out – search the model number which will be stamped somewhere on it if you’re unsure what you’re running.
Next, it’s basically just a matter of matching numbers with numbers and letters with letters. If you have a dual band (2.4GHz + 5GHz) modem on the AC protocol capable of 1300Mpbs, you want a dual band AC1300 adapter.

Internal WiFi Adapter
TP-Link Archer T6E
A good internally mounted (PCIe) AC1300 WiFi adapter. Make sure your build has enough room!

External WiFi Adapter
Netgear A6210-100PAS
A reliable AC1300 USB WiFi adapter. Capable of operating on both the 2.4GHz and 5GHz bands.
Conclusion
If you came here looking to build yourself an awesome $800 gaming PC, I KNOW you found what you were looking for! This build puts out a lot of power for the price and, in my opinion, it’s probably the best value when it comes to a 1080p 60fps gaming PC, or even 1440p 60fps!
Like I said at the beginning of this build guide, it’s going to take more than a year for this build to need any kind of serious upgrades; and even then, you might only need to throw in some more RAM or something else easy like that.
All-in-all, you will be hard pressed to build a better 1080p gaming PC for $800 in 2018; unless you’re building it with a specific game or purpose in mind! The power this build is packing is more than enough to handle all of your favorite AAA games in 1080p at 60fps without a problem!
If you have any questions or comments about this build, don’t hesitate to ask in the comments!
Not your build?
Not the build you were looking for? No worries. Check out the rest of our builds and you’re guaranteed to find yours.


Your articles are perfectly . I enjoyed it reading.
Just beware, graphic cards are really expensive right now, so your PC will cost way more than posted above. If you don’t want to spend lots of cash on a graphics card, I would recommend to just wait for prices to drop. We are working on finding alternative graphic cards.
Is it possible for me to use the NVIDIA GEFORCE GTX 970 that I already have?
Yes, that graphic card would be compatible with the motherboard posted above.
Can you give a compatible replacement for the graphics card? The GTX 1660 is currently running at about $600 itself, which doesn’t really make this an $800 build.
Graphic card’s page is linked with power supply’s buy link 🙁
That’s completely high price and not legal for a graphic card for a latest 500$?? Also, Without graphics card, The total price for other componants is 600$…
Legal? or are you being over dramatic? because that is absolutely legal
Does it run Obs screen recording?
how much must u spend for that?
brother my LAPTOP can run obs smh