If you're installing or reinstalling a CPU, you should learn how to apply thermal paste properly.
Thermal paste is used in various applications. It is often found within PCs and laptops, or as a way to drain away waste heat generated by devices like GPUs, CPUs, transistors, and so on.
What does thermal paste do, you ask?
Thermal paste is used in filling the microscopic gaps between a CPU and its fan heat sink. It helps in dramatically increasing the heat sink's job of cooling the CPU. If applied properly, thermal paste should improve a CPU's overall system performance and speed, while preventing high operation temperatures.
It's always a good idea to check your CPU annually and see if there are cracked or dried thermal compound that need replacing. The best thermal paste is one that is applied fresh when needed and works effectively in cooling down a CPU and ensuring it works at an optimal level.
How to Apply Thermal Paste to Keep Your PC Cool and Fast
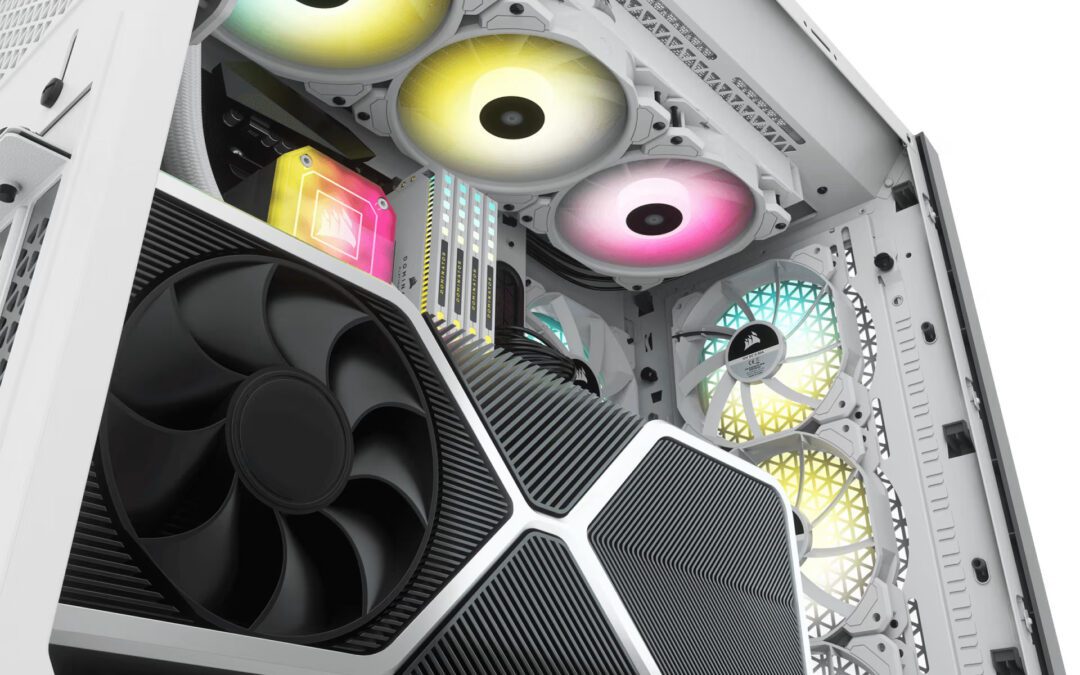
Out of all the computer maintenance tasks you need to do at least once a year, heat management should be on top of your list. This is especially true if you're gaming on the PC. Not paying attention to the temperature of your computer's system could cause damage to its components.
Choose the right thermal paste
Before you shop around for a thermal compound, you must first understand what is thermal paste used for. This is because thermal pastes are made for different purposes. The common materials used for these thermal greases are zinc oxide and silicone, but others include high-end heat conductors like ceramics or metals.
If you use your computer for basic tasks for work or school and only need to know how to remove thermal paste once it's dry and just replace it with a fresh application, most thermal paste will do.
Prepare the surface for application
1. Wipe dirt off. Get isopropyl alcohol (about 70% to 90%) and cotton balls. Dampen the cotton with a bit of alcohol and wipe the surface lightly.
2. Sand the surface. This isn't necessary all the time, but if the heat sink base is rougher than normal, use a small piece of emery cloth or fine grit paper and wet-sand the surface.
Note that the goal of preparing the surface isn't to make them perfectly flat. Instead, cleaning and sanding are used to lessen the probability of failed thermal paste application.
How to apply thermal paste to CPU
The best way to apply thermal paste is usually indicated by the instructions included with the thermal paste or CPU cooler. Different brands may have slightly varying methods, so it is best to follow those recommendations before anything else.
If you no longer have the instructions for your CPU cooler, or CPU thermal paste, then follow these steps:
Do the application prep instructions above. Make sure both surfaces are clean of dirt or old paste.
Place a rice grain-sized drop of thermal paste onto the middle of your CPU's IHS (Integrated Heat Spreader) or metal lid that distributes heat from the processor to the CPU cooler.
You don't need to manually spread the thermal paste. As you join the top to the bottom surface, the paste should spread on its own all over the entire contact surface. If there is excess build up on the edges, clean it up with an alcohol-infused cotton ball before going to the next steps.
Remove the heatsink right after installing it. This step lets you check if you applied the thermal paste correctly and helps you determine if extra paste is needed.
Reconnect the fan/cooler to the motherboard. Double-check to see if there is no more spilling and the cooler doesn't move. Note that some pastes may require 5 to 30 minutes to dry.
Boot the system to check if the fan is running properly and if the CPU temperature has improved. Press F1 (or DEL key) to enter BIOS during POST. The temp of CPU and GPU should be 40 degrees Celsius (or below) when idle.
Generally, there wouldn't be a need to reapply thermal paste regularly. However, if you notice the CPU or GPU temperatures increasing, it might be time to reapply thermal paste. You should also replace the paste any time you check out your cooler.
Convex & Concave Heat Spreaders
You must understand how heat spreaders work first before you could apply thermal paste properly.
A heat spreader is any material that transfers energy as heat, from a hotter source to a colder heat sink. It can be a pipe, vapor tube, or most commonly, just a plate or block of diamond, copper, aluminum, or any other material with high thermal conductivity.
When it comes to computers, the job of heat spreaders is to literally "spread the heat" of the CPU die across a larger area and eventually reach the CPU's cooler heat sink.
When applying thermal paste to CPU, take note of these three things:
As long as the CPU chip itself is safe, CPU manufacturers don't spend much effort on the IHS and heatsink base. As such, when you look closer, you'll see that both surfaces aren't smooth at all. Intel heat spreaders usually have higher edges, while AMD's have higher centers.
Some manufacturers actually do this deliberately to make the thermal paste stick more evenly. The end result is that no heat spreader has a perfectly flat surface. Most of these surfaces are even rough to touch.
These issues shouldn't really be a problem, since you can only see the curved shape and roughness under the microscope. But if you're the one going to replace thermal paste, this information is very important.
How Thermal Paste Spreads on Convex & Concave Heat Spreaders
Applying thermal paste solves the microscopic unevenness between the IHS and cooler because it fills the little gaps between these two surfaces. When applied correctly, the thermal compound should increase thermal conductivity.
Note that not all thermal pastes would work. When choosing between thermal pastes, look for these considerations:
Consider these thermal paste properties when trying to fill the gaps of either convex or concave heat spreaders.
For example, if you're working on a convex (curved upward) heat spreader, it means the gaps you need to fill are on both sides. Using a thermal paste with lower viscosity (a liquidy texture) could cause an unintentional spill spreading to the motherboard. What would have been just a simple maintenance could cost you more money in replacing a busted motherboard.
For concave (curved downward) heat spreader, the gap is found in the center and requires extra care. If you chose a paste with higher viscosity, it is best to apply a small amount so it could even out the heatsink and IHS without making a "bump."
How Thermal Paste Spreads Under Pressure
As you may already know, thermal paste spreads from the center going to the sides when pressure is applied. However, like what we discussed above, their thermal paste properties will factor into the effectiveness of your chosen paste.
How much thermal paste do you need?
Even if you heard recommendations to just apply a tiny dot of paste in the middle and everything will all work out, being too careful can be bad as well. Applying too little thermal paste might result in the hot spot not being covered, eventually affecting thermal conductivity negatively and causing an overheated CPU.
In addition, the viscosity, conductivity and density of a thermal paste varies from one brand to the next. As such, expect the composition of thermal paste to have an influence on how it spreads under pressure.

For example:
- Metal-based thermal paste - These are the best heat conductors out there, but since they are electrically conductive, it isn't the best for beginners. When applying this thermal paste, extra care is required to avoid any of the motherboard's metal surface. Even a dot of this compound could damage the motherboard.
- Ceramic-based thermal paste - This kind of thermal compound does not have any metal, so it is also not electrically conductive. Ceramic thermal pastes are cheapest and safest to use, which is why they're a popular option. However, they're not good for gamers and heavy PC users since it doesn't reduce temperature too much.
- Silicon thermal paste - Commonly used with thermal pads, this kind of thermal paste is very easy to use. The upside to this is that it can easily be removed with a microfiber cloth and alcohol, should there be a need to remove the paste. The downside of silicon-based thermal paste is that they are not as effective heat conductors as their metal-based counterparts.
Of course, how your thermal paste spreads under pressure will also depend on the mounting method. Do you follow the rice-grain sized drop in the middle? How about the push pin method shared by Intel?
Note that the thermal resistance of your choice of paste does not directly guarantee its effectiveness in real-world application.
A Philosophical Debate: The Application Method
If you ask someone how to apply thermal paste, you'll most likely get varying responses. This is because there are dozens of techniques for applying thermal paste recommended by graphic card companies, CPU manufacturers, gamers, overclock fans, and so on. Each technique has its pros and cons.
Any application method you choose below should work as long as the paste viscosity and quantity are considered as well.
Brushing method
This application technique is used for liquidy thermal paste. Because it is impossible to dump a pea-sized drop of low-viscosity paste in the middle, you apply it using a brush.
For most people, this technique is easy as long as a tiny amount is used. However, if you're using medium-viscosity paste, controlling the drop would be a bit harder.
- PROS: Easy to use, especially if you know your way around brushes
- CONS: Low viscosity pastes often have high contents of silicone, which means their thermal conductivity is low.
Spreading method
This application technique is used mostly for medium-viscosity paste, but never on liquidy and high viscosity. When applying thermal paste, your goal is to leave a thin, smooth layer that would even out microscopic imperfections of both upper and lower surfaces.
If you use the spreading method while wearing latex gloves, even with just your index finger to spread the paste, there's still a big chance you'd apply too much.
In addition, some thermal pastes cannot be applied smoothly by hand. Doing so would cause unwanted air pockets.
- PROS: Works best for medium-viscosity thermal paste
- CONS: There is always a risk of applying too much paste
Drop or Blob Method
This is the most-recommended method of all. As its name suggests, you just apply a tiny blob of thermal paste onto the bottom surface, and you’ll just let the pressure of the top surface from spreading the paste.
Generally, the blob of about 1/10-inch in diameter is enough to cover most applications. But if you're using a high-viscosity paste or a high-quality cooler, extra paste could still work as long as it applies more pressure.
Note that this method has a lot of variations. The rice-sized dot or double rice-sized dot applied at the center are the two most common techniques. Some people even experiment and create dotted shapes like a happy face (2-eyed dots, a dotted nose and curved line for a smile).
- PROS: Can be used by beginners and experienced people.
- CONS: Not as effective for convex heat spreaders
Strip Method
Like the dot method, strip is also a common application technique and can be all sorts of shapes. You can do this by applying:
- a thin line across the middle
- a thick line across the middle
- x shape
- circle shape
- outlining a square-shaped plate
- two thick lines
- three thin lines
- and so on
The good thing about this method is that you can apply either a thin or thick strip, depending on your needs. If your heat sink has a higher mounting pressure, you can use a low-viscosity paste and it will still spread properly.
If you apply only a thin strip for areas where most-needed, the application would still work. On the other hand, if you use too much paste, expect the thermal paste to ooze out at the sides. For some cases, this will only require quick cleaning, but for others, this spillage could lead to damages of your CPU, GPU or other hardware you're currently working on.
- PROS: Versatile method of application
- CONS: Not ideal for electrically conductive thermal paste, since applying thick paste could lead to hardware damage
Which thermal paste application method is the best?
Ask one who is a fan of overclocking and you’d be recommended to go with the dot (or pea-sized) method. Ask a general PC user who dabbles in fixing PCs and he might say to just go with a brushing method with low-viscosity paste. Both recommendations can be correct.
There is no single technique ideal for everyone, which is why this topic remains a highly debatable subject until today.
The goal is to apply thermal paste to the surface with as little air bubbles as possible and without extending to sensitive components (like the motherboard or the entire CPU).
I hope you learned enough about the properties of thermal paste to know which application method would work best for your scenario.